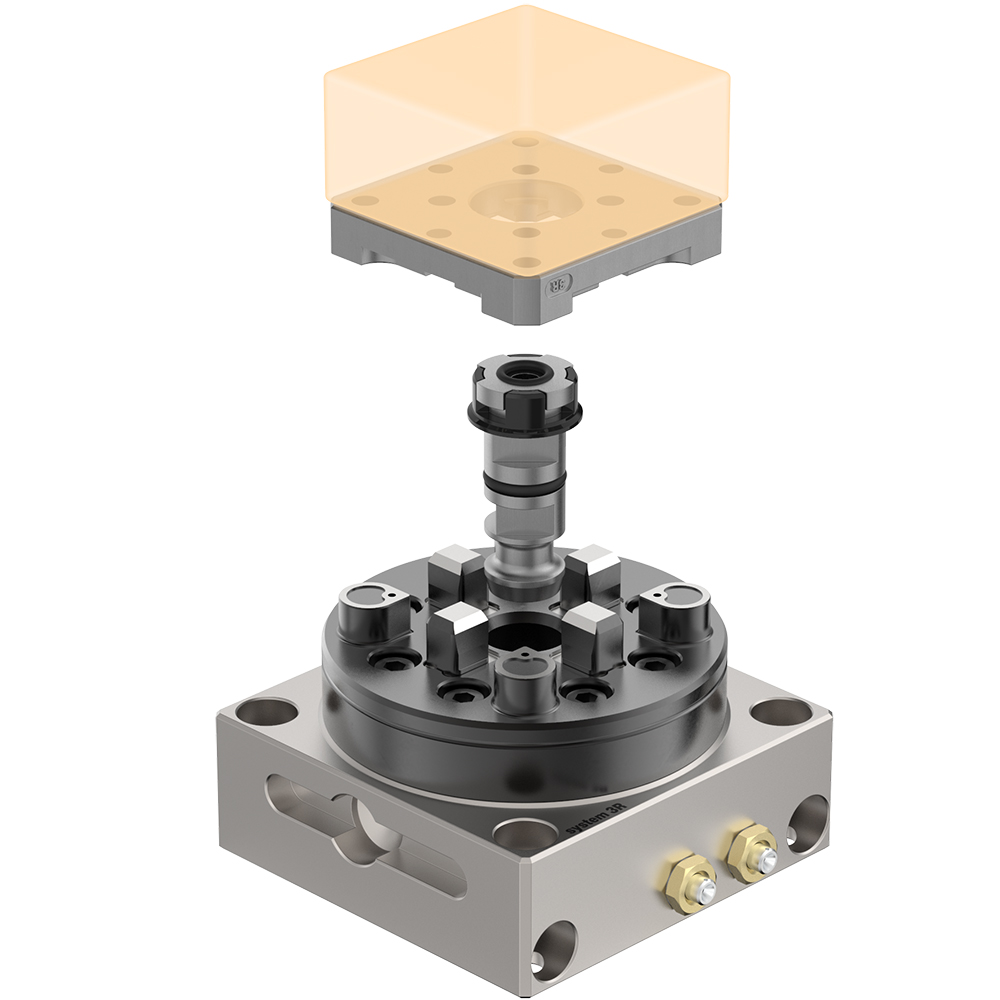
Macro
… reduces setting-up times.
… ensures precision and quality.
… has automatic air-blast cleaning of the references in the pneumatic chucks.
… has higher locking force in the pneumatic chucks – turbo locking.
… has references of cemented carbide or hardened ground steel.
… is suitable for automatic changing with System 3R’s automation program.
- Repetition accuracy:
- MacroNano – within 0.001 mm
- Macro (Std and HP) – within 0.002 mm
- Locking force – 6000 N
- Fixed index positions – 4x90°
- Required air pressure, pneumatic chuck – 6±1 bar
- Recommended tightening torque, manual chuck – 6 Nm
- Recommended max workpiece weight – 50 kg.

137 results for 'Macro'
Measuring probe, Macro
3R-656.21-SP03
Measuring probe with measuring head for machines with measurement cycle function.
3Refix mandrel, 3Refix
3R-901-10E-TX
Note: When positioning with 3Refix mandrels –always tighten the expanding mandrel in the R0 hole first.
